When it comes to installing LED lights, there are a few things you need to keep in mind. First, you will need to find a power source. Most LED lights come with a cord that plugs into an outlet, but some models have a battery pack. If your light doesn’t have a cord, you will need to purchase one separately.
Once you have found a power source, you will need to determine where to install the light. LED lights can be installed in just about any location, but they work best when they are mounted in a spot where they will get direct sunlight. If your light is not getting enough sun, it may not work as well.
How to choose and put LED strip lights up?
If you already know what LED lights you need for your project, we recommend starting by checking out our Best Sellers :
- Warm White - If you're looking for ambient light with a soft pinkish glow, this strip is best used to illuminate bar cabinets and shelves.
- Daylight White - If you're looking for a cool white color temperature that works great as task lighting, choose this strip. It provides crisp white light.
- Cool White - Perfect for areas where brightness is needed, the cool white color temperature of this strip emits clean, crisp white light.
- Mixed Colors - If you want to change the colors on your LED strips frequently, our mixed colors are perfect because they come in all different shades ranging from purple to green to tangerine without having to buy separate LED strips. They are great for creative effects in a room or for boosting your plant growth.
After you have selected the strip lights that are right for you, it’s time to start setting them up. If your strip light cord has an on/off switch, turn it on before mounting your strips. Once your lights are turned on, attach them to wherever they need to go using self-adhesive tape or nails.
After choosing what lights will work best for your project, follow these steps to install your LED lights.
Where can you put up LED strip lights?
LED strip lights can be installed in a variety of locations, including:
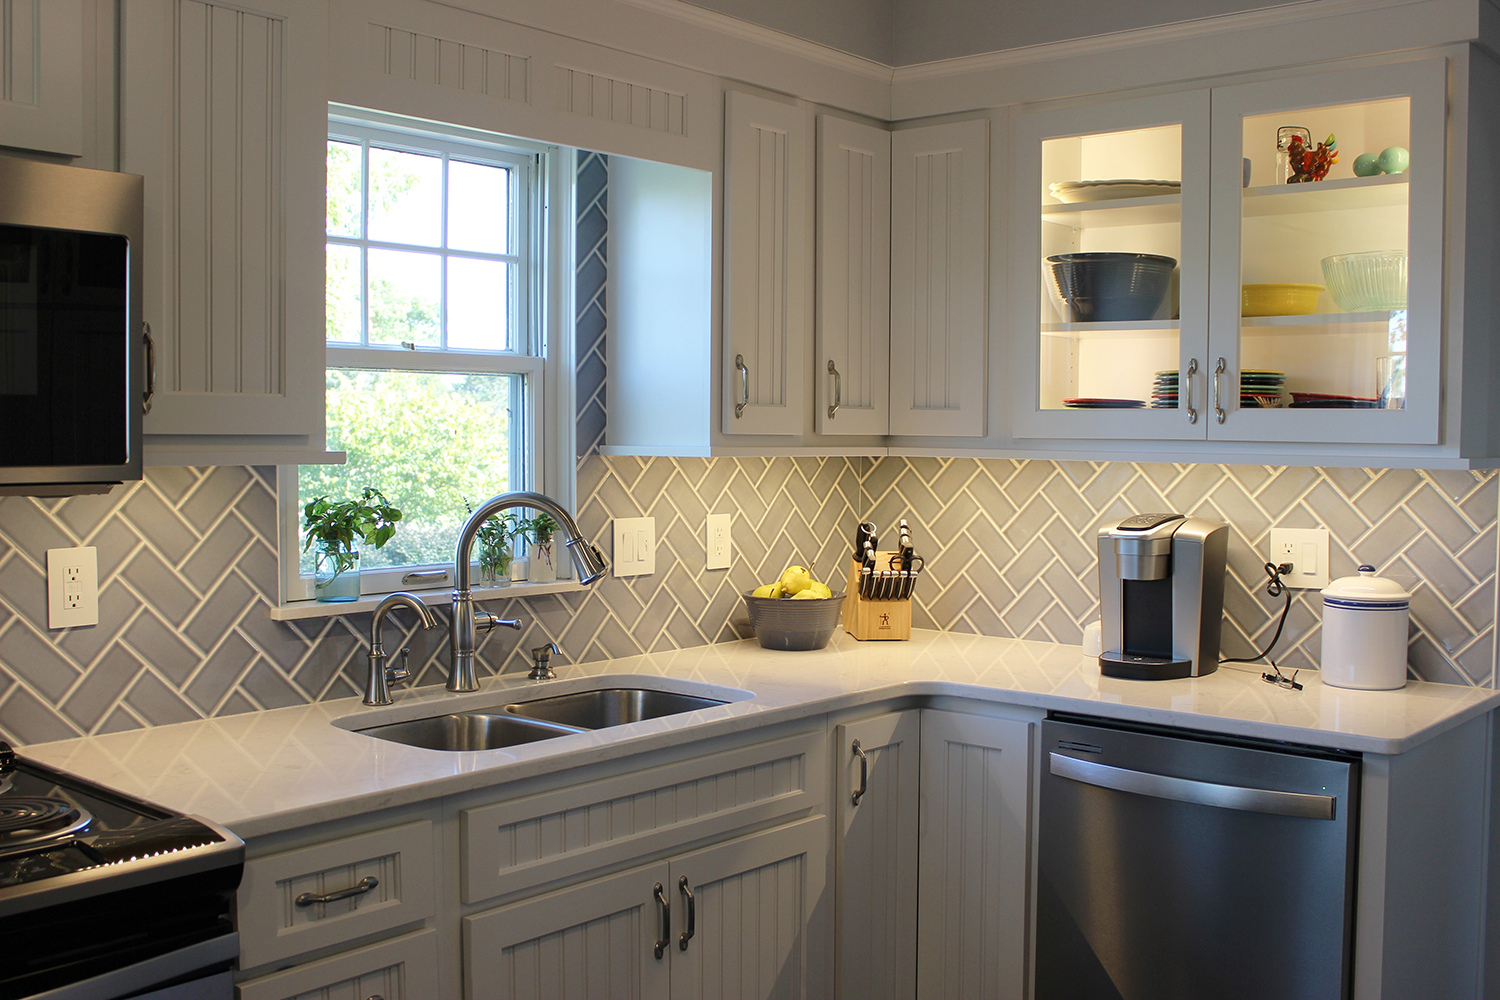
- Under cabinets
- In closets
- Above the refrigerator
- Under the eaves of your roof
- Along the edge of your driveway or sidewalk
Once you have decided where to install your LED light, you will need to determine how to put it up. Most LED lights come with a sticky backing that allows you to attach them to a surface. Simply remove the adhesive cover and stick the light in place. If you are having trouble getting it to stick, you can use some hot glue or silicone caulk to hold it in place.
What do you need for putting up LED strip lights?
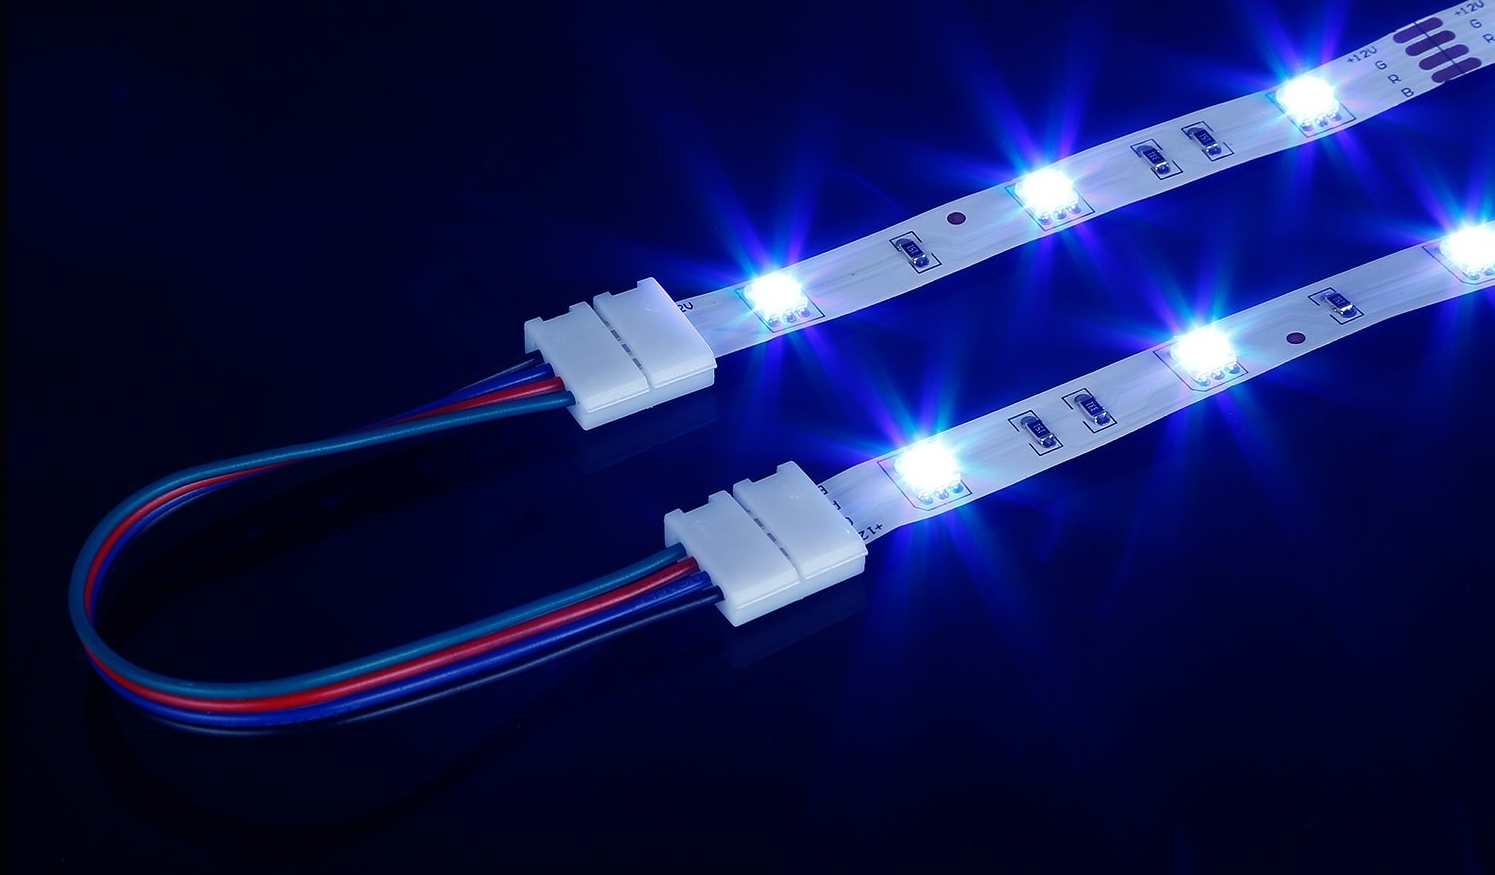
- LED light;
- A power source (cord or battery pack);
- Drill with a small bit, screws, and anchors appropriate for your surface.
Installation steps
- Decide where you want to install your light. LED lights can be installed in just about any location, but they work best when they are mounted in a spot where they will get direct sunlight.
- Drill a small hole in the desired location and insert the screws. If your surface is not sturdy enough to hold a screw, use an anchor instead.
- Connect the cord or battery pack to the light and insert it into the hole.
- Tighten screws/anchors to secure the light in place.
- Turn on the light and enjoy!
How to put LED strip lights without adhesives?
If you want to install LED strip lights without using adhesives, you can use a few simple techniques. First, you can use Velcro to attach the light to a surface. Second, you can use magnets to hold the light in place. Third, you can use a clip or hanger to suspend the light from a ceiling or other surface.
With this method, you will need to determine where you want the light before beginning. If necessary, attach your Velcro pieces together and cut them to size. Then, remove the protective backing from one side of the Velcro and attach it to the back of the LED strip. Place the second piece in its desired location and press firmly until adhered in place.
If you are concerned about damaging your surface with screws, you can use magnets instead. Adhesive-backed magnets tend not to be very strong; if possible, use a rare earth magnet instead. Clean any dust or debris off of both surfaces using an all-purpose cleaner (or rubbing alcohol) and wipe dry. Stick each magnet to its intended location then tap firmly until fully set.
Lastly, you can use a clip or hanger to suspend the light. This is a great option if you want to install the light in a spot that is difficult to reach. For example, you can use a clip to attach the light to the inside of a cabinet or underneath a shelf. Choose a clip or hanger that is appropriate for your surface and adhere it in place. Then, insert the LED strip light into the clip or hanger and tighten it until secure.
Whether you are using adhesives, magnets, or clips/hangers, make sure that you always follow the manufacturer's instructions for installing LED lights. Improper installation may result in shortened lifespan or decreased performance of your lights.
Can one use super glue on LED strip lights?
Yes, you can use super glue to install LED strip lights. However, it is important to note that this method is not as permanent as using screws or magnets. If you choose to use superglue, make sure that the surfaces are clean and dry before applying.
Also, be careful not to get the glue on the LED light itself, as this may affect its performance. Apply a small amount of glue to each surface and press together until bonded. Allow time for the glue to dry completely before turning on the light.
Can one use hot glue on LED strip lights?
Yes, you can use hot glue to install LED strip lights. However, it is important to note that this method is not as permanent as using screws or magnets. If you choose to use hot glue, make sure that the surfaces are clean and dry before applying. Also, be careful not to get the glue on the LED light itself, as this may affect its performance.
Apply a small amount of glue to each surface and press together until bonded. Allow time for the glue to dry completely before turning on the light.
How to install led strip lights without adhesive?
Yes, you can use nails to install LED strip lights. However, it is important to note that this method is not as permanent as using screws or magnets. If you choose to use nails, make sure that the surfaces are clean and dry before applying. Also, be careful not to get the nails on the LED light itself, as this may affect its performance. Hammer each nail into its desired location until it is fully set.
Can one use tacks?
Yes, you can use tacks to install LED strip lights. However, it is important to note that this method is not as permanent as using screws or magnets. If you choose to use tacks, make sure that the surfaces are clean and dry before applying. Also, be careful not to get the tacks on the LED light itself, as this may affect its performance. Push each tack into its desired location until it is fully set.
How to install LED strip lights without damaging the paint?
If you are worried about damaging your paint when installing LED strip lights, there are a few things you can do to help prevent this. First, use a drill with a small bit to make pilot holes before inserting screws.
This will help to avoid splitting the wood and will also make it easier to insert the screws. Second, use anchors if necessary. Third, make sure that the screws/anchors you select are appropriate for your surface. Lastly, use a level to ensure that the light is installed evenly.
If you are not comfortable using tools or if you do not have the proper equipment, you can also hire a professional to install your LED strip lights for you. This is a great option if you want the job done right and don't want to risk damaging your paint.
What if the paint was damaged?
If you have already installed your LED strip lights and have noticed damage to the paint, there are a few things you can do. First, try repairing the paint yourself using a touch-up kit. If this does not work, or if the damage is too extensive, you may need to repaint the area. This can be a time-consuming and expensive process, so it is important to weigh your options before deciding whether or not to proceed.
How to hide LED strip lights on your walls?
It can be frustrating to try and find a way to neatly hide LED strip lights on your walls. The adhesive backing allows easy installation but makes it difficult to remove without ruining the paint. Here are some tried-and-true methods for hiding them!
Using Wire Mesh
This is probably one of the easiest ways to hide LED strip lights along your wall. Most hardware stores carry this mesh that looks like plastic chicken wire, which you can use to hide where your light runs behind your furniture or under cabinets. Choose a mesh that is large enough for you to easily push the light through the holes, but too small for anyone attempting to grab it from behind (the smaller the holes, the harder this will be). Once painted, no one will be able to tell where your light is hidden, and you'll save yourself a lot of time trying to cut holes in the wall.
Using Fabric
Tired of those ugly LED strip lights along your walls? Want something that both looks nice and hides where your strip lights are located? Use fabric! Try using fabric that matches the color of your paint or the color of your furniture.
To accomplish this, the first measure where you need to place them; make sure they're spaced evenly along whatever surface you plan on hiding them behind (such as under cabinets). Then take one end and stuff it through an opening until it reaches an outlet plug. Sweep it across until you reach another opening for the next strip, then push that into place as well. Finally, use a staple gun to attach the fabric to the wall behind where it's hidden. This is a great option if you don't want to see any cords or wires sticking out from behind your furniture.
Using Molding
Molding is a popular way to hide all sorts of items along your walls, from outlets to cables. When using it to hide LED strip lights, there are a few things you need to keep in mind. First, make sure that the molding is thick enough so that the screws/anchors you use will be hidden. Second, select a molding that has an interesting design or pattern - this will help to distract from the fact that your LED lights are located behind it.
Lastly, measure and cut the molding to cover where your lights are located. For this, you will need a miter box. This is an especially popular option for people who want their walls painted without visible wires/lights or who don't want their furniture blocking access to plugs.
Bottom line
There you have it - everything you need to know about installing LED strip lights! By following these simple instructions, you can have your lights up and running in no time. So what are you waiting for? Get started today!