It can happen anytime, anywhere - you're walking down the street, stumble into a dark alley, and then fall over into a puddle of ice-cold water.
Or maybe it's just after you've finished building your latest project with an Arduino board - but wait! Where is all of that smoke coming from? Is something wrong with your circuit? After sniffing around for a bit, the source of all this smoke reveals itself: one itsy-bitsy teenie-weenie capacitor has ruptured open. But what does this have to do with LEDs?
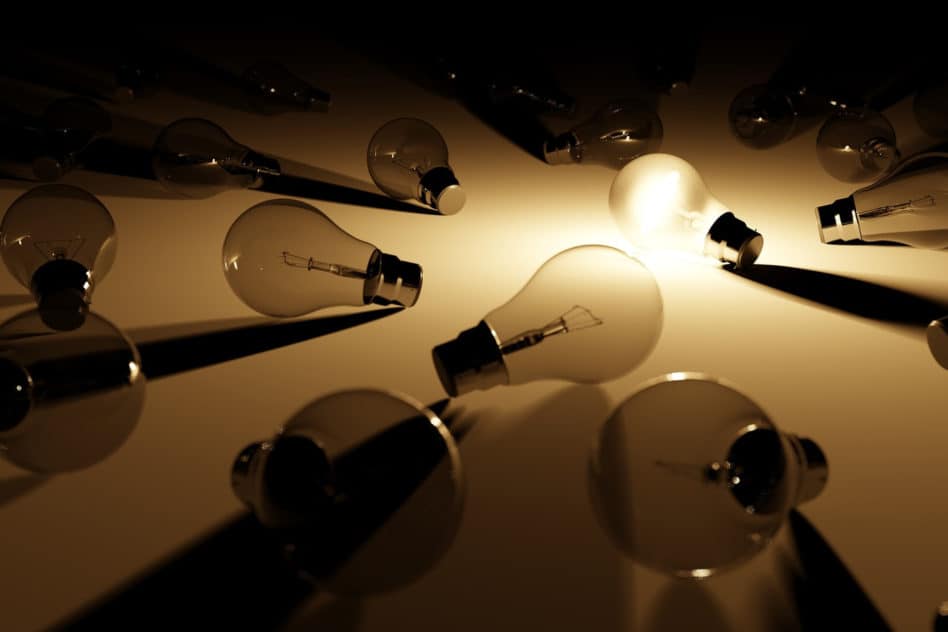
Why are LED lights so sensitive?
And if we start asking questions about the capacitors in our circuits, we might as well ask why certain types of transistors (such as FETs) are also sensitive to voltage spikes. For now, we will only ask why the specific LED capacitor (or any capacitor for that matter) might rupture and destroy an entire circuit or device - mainly discussing what causes these capacitors to break down rather than the more general case of malfunctioning electrical components.
So let's go back...way back...back to old-style analog TVs: remember those days when you had to turn a dial on your TV set in order to tune into different channels?
Those little silver disks with holes all around them were called rotary capacitors, and they allowed us to build tuners by allowing us to select varying levels of electrical resistance between two electrodes inside the capacitor itself. The bigger the disk, the more area there was inside that disk to connect wires and electrodes - thus the larger-sized capacitor could tune into a greater range of frequencies.
As it turns out, rotary capacitors are not designed for very high frequencies: as you turn the dial from station to station, you might hear this faint hum startup from within your TV set before the picture starts to look all blurry.
This noise is what we call radio-frequency interference (or simply "radio-wave noise"), and this noise comes from an inefficient transfer of power via a conductive material that allows for current to dissipate through other areas besides the intended electrode(s).
But what about simple capacitors used in modern times? Do they also have a tendency to spontaneously destroy themselves just by turning on a light switch? Actually, no.
Compared to rotary capacitors, disc ceramic capacitors (such as the one in your LED light) are designed for much higher frequencies: they're better at blocking radio-frequency interference and therefore less likely to go bad due to normal ambient electrical noise in our environment.
What causes LED lights to burn out?
However, there are still reasons why disc ceramic capacitors might burn out: for example, if your circuit experiences a sudden voltage spike (such as those generated by nearby lightning strikes), the added stress on the capacitor might exceed its safe operating range and cause it to rupture or short-circuit.

Furthermore, high temperatures might also damage the dielectric layer inside the capacitor - especially if allowed to build up over an extended period of time.
LEDs take advantage of all of these little capacitors we've been discussing; in fact, it's pretty much impossible to make an efficient LED circuit without them: every LED requires at least one small capacitor between itself and the ground (in order to block DC current flow). And furthermore, every RGB LED contains three separate LEDs (red, green, and blue) each with its own little disc ceramic capacitor.
Why do different colored capacitors break down at different voltages?
But why are the colors of LEDs rated differently for voltage stress? It turns out that one capacitor is not enough to block DC current flow: all three colors would "short out" if connected directly to the ground through an external resistor - rather than through their intended LED. The main idea here is that the dielectric layer inside the capacitor allows for more efficient energy storage when placed under strain (as might occur during a surge in voltage).
For example, let's take our red LED which requires 24 volts across its leads in order to light up. If you were to measure the voltage across each capacitor in an individual red LED, you would find that they are all rated to handle a maximum of 20 volts. However, when placed in series with the other two LEDs (in parallel) our three capacitors must be able to withstand 24 volts without rupturing.
Due to the different dielectric constants for different materials, ceramic disc capacitors are actually rated according to their peak inverse voltage (PIV) rather than their no-load breakdown voltage.
What this means is that if you were only interested in finding out how much voltage these capacitors can safely handle while sitting on a shelf and unused, then measuring their PIV would give you the answer you're looking for.
LED lights burning out in the same socket - what should you do?
But if you were to measure the PIV for these capacitors while they are operating inside your LED lamp, then you would find that they can handle a lot more voltage. In fact, if one of our capacitors fails in an LED circuit, it will usually be due to excess current flow across its leads - not a sudden change in voltage. But why does this happen?
Why do different colored LEDs fail at different voltages?
It's all due to their intended purpose: red LEDs have a long wavelength and require the most forward voltage drop from our capacitive circuit in order to switch on. This means that they contribute the most resistance as far as power dissipation is concerned (i.e., energy loss through heat).
Next up, green LEDs have a medium wavelength and require a medium amount of forwarding voltage drop. And lastly, blue LEDs have a short wavelength and therefore need the least forward voltage drop from our capacitive circuit.
Okay, so what does this mean for your LED lamps? Well if you were to opt for lower-quality multi-colored LEDs (which is typically cheaper), then you might find that these little disc ceramic capacitors do not fare as well as their more expensive counterparts.
In fact, it's relatively common to find LED lamp manufacturers using low-quality 3-pin RGB LEDs in order to cut down on cost - which ultimately means they will burn out long before the rest of the lamp does!
You should be able to tell which kind you have by measuring the voltage across each capacitor (in series) with a multimeter:
- Red light: 160-170 volts;
- Greenlight: 90-100 volts;
- Blue light: 30-40 volts.
LEDs do not burn out in this manner! So, if you were to measure the voltage across your LEDs and find that they are all close to zero (or -0-) then there is almost no chance that your LED lamps will work long term.
And, if their forward voltages are at least 10% apart from one another, then it's very possible that only one or two of the colors will continue working overtime. If on the other hand, there is less than a 10% difference in any of these voltages, then it's possible that all three colors will continue to work long into the future.
Do capacitor polarity markings really matter?
For example, if you were to place a red LED in series with a green and blue - then only the red LED would appear lit up when you power on your lamp (because there is no way for current to flow through the green or the blue LED).
And if this situation happens, then one solution might be to wire each of these LEDs in parallel rather than in series. But again, another thing worth keeping in mind here is that low-quality 3-pin RGB light modules typically have one common anode (+) lead and two cathodes (-) leads per LED - which means they do not share a common ground (this is where the brand and bin of your LEDs matters).
So, what do you do if you come across a LED lamp with low-quality 3-pin RGB LEDs and you want to make it work? Well, for starters, if each color has its own capacitor - then it might be safe to assume that only one or two colors will light up when powered on. But this assumption might not always hold true due to other factors. And in order to be sure, the best thing would be to measure the voltage drop across each capacitor while powering your LED lamp up - just in case!
Why do new LED bulbs burn out in a minute?
When you buy new LEDs and think that everything will go smoothly, you might be in for a surprise.
New LED lights often contain "blooming" residue on their solder pads (this excess flux is leftover from the manufacturing process). This flux emits gases while the LEDs are on - causing them to degrade at an accelerated rate. So if your new LED lamps fail quickly - it's probably not due to poor quality components but rather because of this "blooming" residue that you can't see inside of them!
What causes multi-colored LED lamps to flicker?
If your multi-colored lamp flickers when switched on, then there might be too high of an RPM (revolutions per minute) value set on the internal 3-pin wiring motor - which basically means that each of the three LEDs is turning on and off too fast for your eyes to see it. In this case, the best thing would be to look for a multi-colored LED lamp with finer motor speed control options.
How do I make my LEDs last longer?
Well, if you were to opt for high-quality multi-colored LEDs (which is typically more expensive) - then you should expect each color combination in your LED lamps to light up long into the future!
What about cheap single-color LED lamps? Well, while these are probably better than using low-quality 3-pin RGB LEDs - they're usually not worth buying because they simply don't look nearly as nice as real multi-colored lights! So our advice here would be to stay away from single color LED lamps and find a good multi-colored model instead.
Why do my LEDs light up at a reduced brightness?
This is often due to a resistor value being too high for your LED lamp. In this case, the best thing to do would be to either ask for help online or open up your LED lamp and look up the correct resistor value that you should use for this particular model of red, green, and blue LEDs.
Can you repair the burnt LED bulb?
If you think it's too hard to open up your LED lamp and replace the burnt LEDs, then it's probably best to buy a new one instead.
Why do my LEDs flicker when they're supposed to be off?
Well, if you just wired this single color LED - then there is no common ground (and thus no place for current to flow) between all three colors because you simply would have just connected red to red, green to green, and blue to blue.
And so in order to fix this problem - all that needs to happen here is for each LED color at either end of the string of lights (where they are plugged into the power supply) to need their own capacitor... But instead of using actual capacitors, you can just use a small resistor in place of these values to save you time - that way it'll be much easier for you to power up your LED lamp.
Why do I need different resistors for the LEDs?
Typically speaking, you need to find out what value resistor will work best with red, green, and blue LEDs before wiring them up.
If you don't, then this could lead to either over-bright or dim lights when powered on which would make it very hard for people who buy 3-pin RGB LED lamps off the shelf to enjoy their purchase! Instead of solving this problem yourself by opening up your LED lamp and looking inside where you'll probably end up ruining its aesthetics!