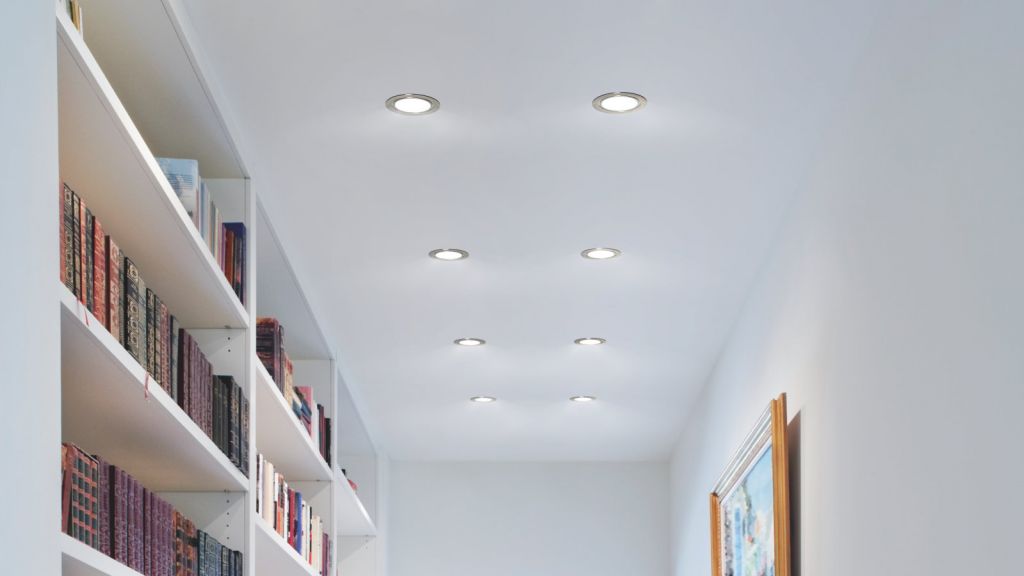
What are the downlights?
Downlights are lights that direct light downwards, not outwards like an uplight. They often come in pairs or threes, and screw into the cup of a fitting.
Types of downlights
- GU10: A popular form of downlight. Generally used in kitchen and living areas.
- MR16: Found mostly in bathrooms and bedrooms, this is the same as a GU10 only smaller (about half the size) and shaped like a parabola.
- PAR20: Larger versions of MR16s; found in living rooms; includes newer LED versions that are even more efficient than other PAR lamps because they give off less heat.
- A spotlight can be considered to be like a large version of a PAR lamp - it has its own reflector built-in, which makes it direct light downwards (and not outwards). However, because its shape is non-symmetrical cannot be connected to a switch like you would do with PAR lamps.
The above-mentioned downlight types are all generally used in different rooms of your house - GU10s in living rooms etc., but they can be used in any room.
How does a switch work?
Many homes in the US are built with light switches that work by breaking the circuit-- when you flip the switch, it breaks electrical contact between one terminal of the fixture and its power supply.
What wires does a light switch have?
The only wires a switch is designed to control are those from the fixture. They have two terminals, which you can tell apart by looking for brass screws-- these are the ones that break contact with the power supply when you flip the switch. There should be a matching set of green screw terminals on your fixture.
There are color-coded wires and each color refers to a wire from the power supply to the fixture.
- Green and bare wires are both grounds.
- White: neutral (transfers no power)
- Black: powered
- Red: switched hot (provides power only when activated by a switch)
How can I use a light switch with downlights?
You cannot control two downlights by switching one of them, you need separate switches for each light or group of lights. If you want to be able to change the brightness of your lights as well as turn them on and off, install dimmer switches-- they can put more than one lamp on the same circuit safely. Always shut off the circuit before working it!
What kinds of switches do you need?
You will need either 'single-pole' or '3-way' switches, depending on how many lights you're wiring to your downlights: single-pole - all fixtures to one switch; 3-way - for lights which are wired to two switches, so that they can be turned on from either switch.
The difference between two and three ways switch
A three-way switch has an additional wire between switches, so you only need one common wire in addition to the two traveler wires. This is not necessary in a single-pole setup. When in doubt, consult an electrician!
Also, before you start wiring anything, check the back of your downlight to see how many bulbs it takes. It needs to match the number of wires coming out of your switch!
Which one is better?
It's a matter of personal preference-- a single-pole switch can be turned on and off from two points, but the other switch will have to be in the other room. A 3-way switch still must have a wire going between switches.
What about dimmer switches?
You can install dimmers on your own if you have some knowledge of wiring-- but again, when in doubt, call a professional!
A simple system would be two 'single-pole' switches and one '3-way' switch. In this case, each switch controls its own fixture. The 3-way switch does nothing until the final step: the power from both fixtures connects to a junction box which is wired to a third "traveler" switch in the other room.
This allows both lights to be turned on or off easily. A final option would be a '4-way' switch, which does nothing until you add another fixture in between it and the last 3-way switch-- this is necessary if there are more downlights than you can control with your existing switches.
If the junction box is very close to one of your switches, you can install a regular light bulb there instead of a fixture. You will not need to use traveler wires, but make sure it has its own separate circuit!
Disclaimer: Be sure to check local codes before doing any electrical work yourself - these are only guidelines for educational purposes. Always get help from an electrician when performing any work on your electrical systems.
How do you wire downlights with a dimmer?
The dimmer is the only thing on the circuit with the light being controlled by it. Use black for hot, red for switched hot, white for neutral, and green as ground. Remember to use grounded metal boxes with plastic faceplates. Don't overload your circuits!
There are some reasons why many people prefer dimmers installation to standard switches:
- Price: you can save money on installation for standard wiring.
- Better lighting: you can get better lighting output with a dimmer than any kind of switch.
- Wider light control: you can increase and decrease light intensity, not just turn it on and off with the switch.
- More safety: if switches are in hard to reach place or there is no children's hand near, lights will be less dangerous when controlled by the dimmer.
- Texture: it looks more upscale than conventional switches and adds beauty to your house!
The only downside may be that some people find them harder to use because they don't know how many turns of the dial will change the lights' brightness dramatically versus slowly.
What if the switch was wired faulty?
If you find that the switch was wired faulty, it should be pretty easy to fix. First, turn off all power in your house or whatever building you are in then either disconnect the electricity at the breaker box or unscrew the fuse.
Remove the cover plate of your faulty switch by taking out all of its screws and exposing its wires.
Wire downlights to a socket instead of a socket to downlights?
It can get very messy if one wire has 3 connections on it. It is much easier to wire sockets up than switches because they are more secure. Also, when working with low voltage systems, having extra wires associated with each fixture becomes a problem. The main issue revolves around reattaching connectors easily without causing electrical shorts.
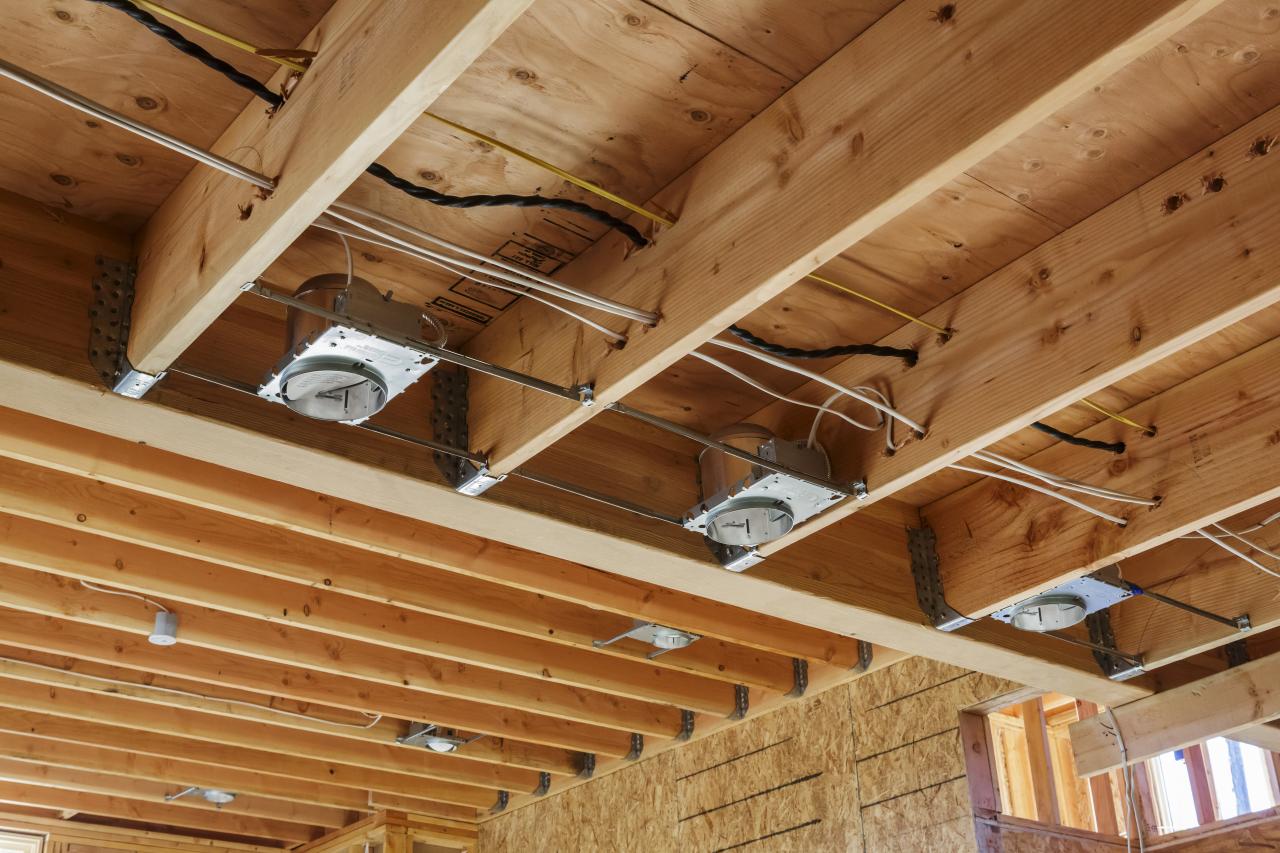
What do you know about wiring downlights?
They're hard-wired together the same way they are hard-wired together in the junction box; which means that once installed correctly they shouldn't need any additional work done to them or testing at all. Every single light should work perfectly as soon as they are plugged in.
It is safer to have a dedicated junction box in the ceiling every time you add a new light or move an existing one because it means that you don't need to worry about reattaching connectors which could cause an electrical short if done incorrectly.
A dangerous electrical short can be caused when two live wires touch each other, when not enough insulation from them, this often occurs when installing low voltage lighting systems and is a major cause of house fires. If anything goes wrong, then for example if someone drops a screw down into the ceiling with the power on there is no danger of causing any kind of short because there won't be electricity going through any cable attached to that particular junction box until it's turned on by the switch outside.
Precautions while working with wires
Ensure that there is no power in the circuit before attempting to replace fixtures. Never assume a fixture is dead when changing it. Always turn off the switch and then remove the bulb before touching anything within that box or panel.
Make sure you know which wire goes where when installing new fixtures by using labels, paint dots, different colored tape, etc…
If you're replacing an existing fixture with a wireless one be very careful not to cut through any live wires when cutting holes in your drywall and make sure no live wires can come in contact with metal parts of your newly installed fixture!
If all these precautions are followed, there should never be any problems while working on downlights.
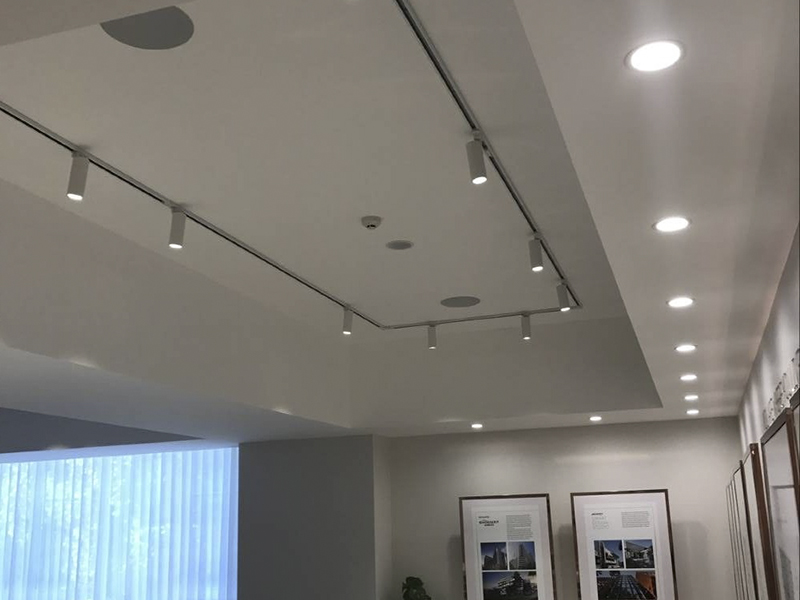
How to install downlights properly?
- Turn off the circuit breaker that powers the light you are working on.
- Remove old fixture, ensuring it is dead by turning on the power.
- Test for live wire with a voltage meter.
- If everything has been turned off correctly, remove all connections from the fixture and tie them together so none are left hanging loose in the box.
- Hold new fixture up against junction box, mark through holes onto junction box using marker or pencil.
- Using the appropriate size drill bit, drill two holes for your downlight's mounting screws just large enough to fit the screw into. Do not go any larger than what is needed as this could cause problems with water entering into your electrical system!
Final words
If downlights are not properly wired to a switch, they cannot be used and can cause many problems. By following the steps above you will ensure that your downlights work in perfect order and you will avoid any accidents when working with electricity.