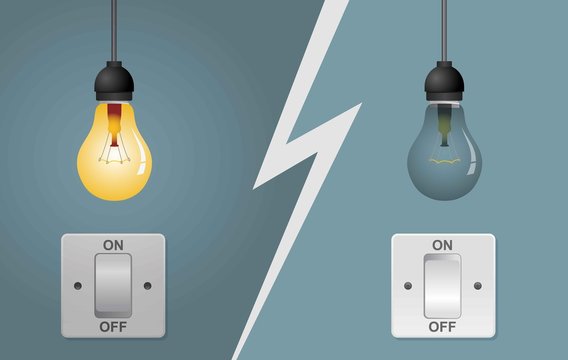
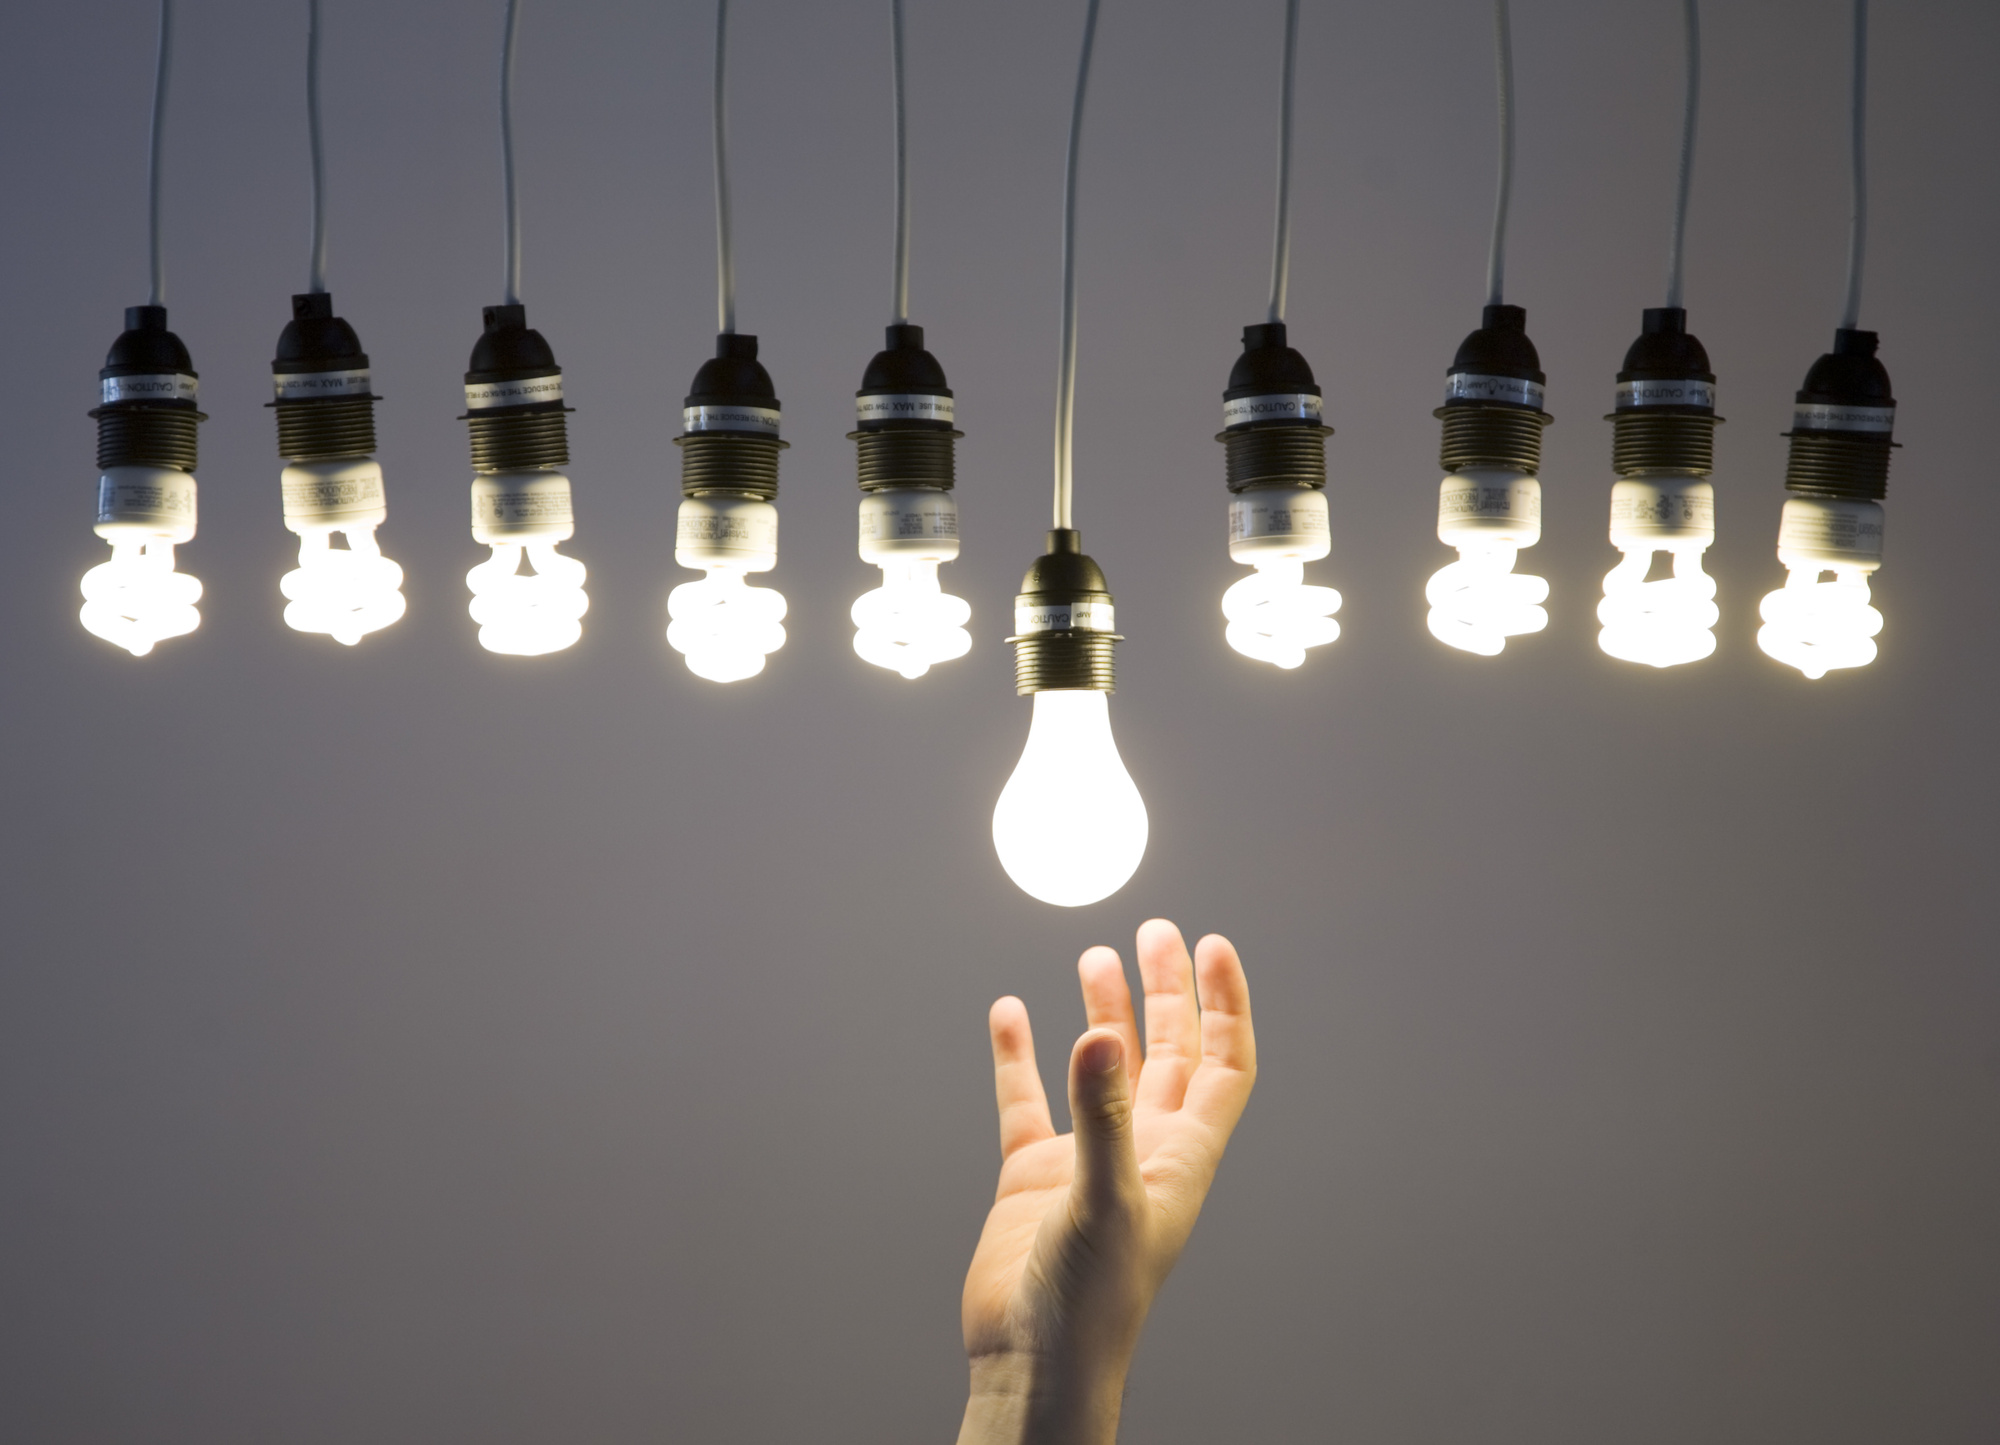
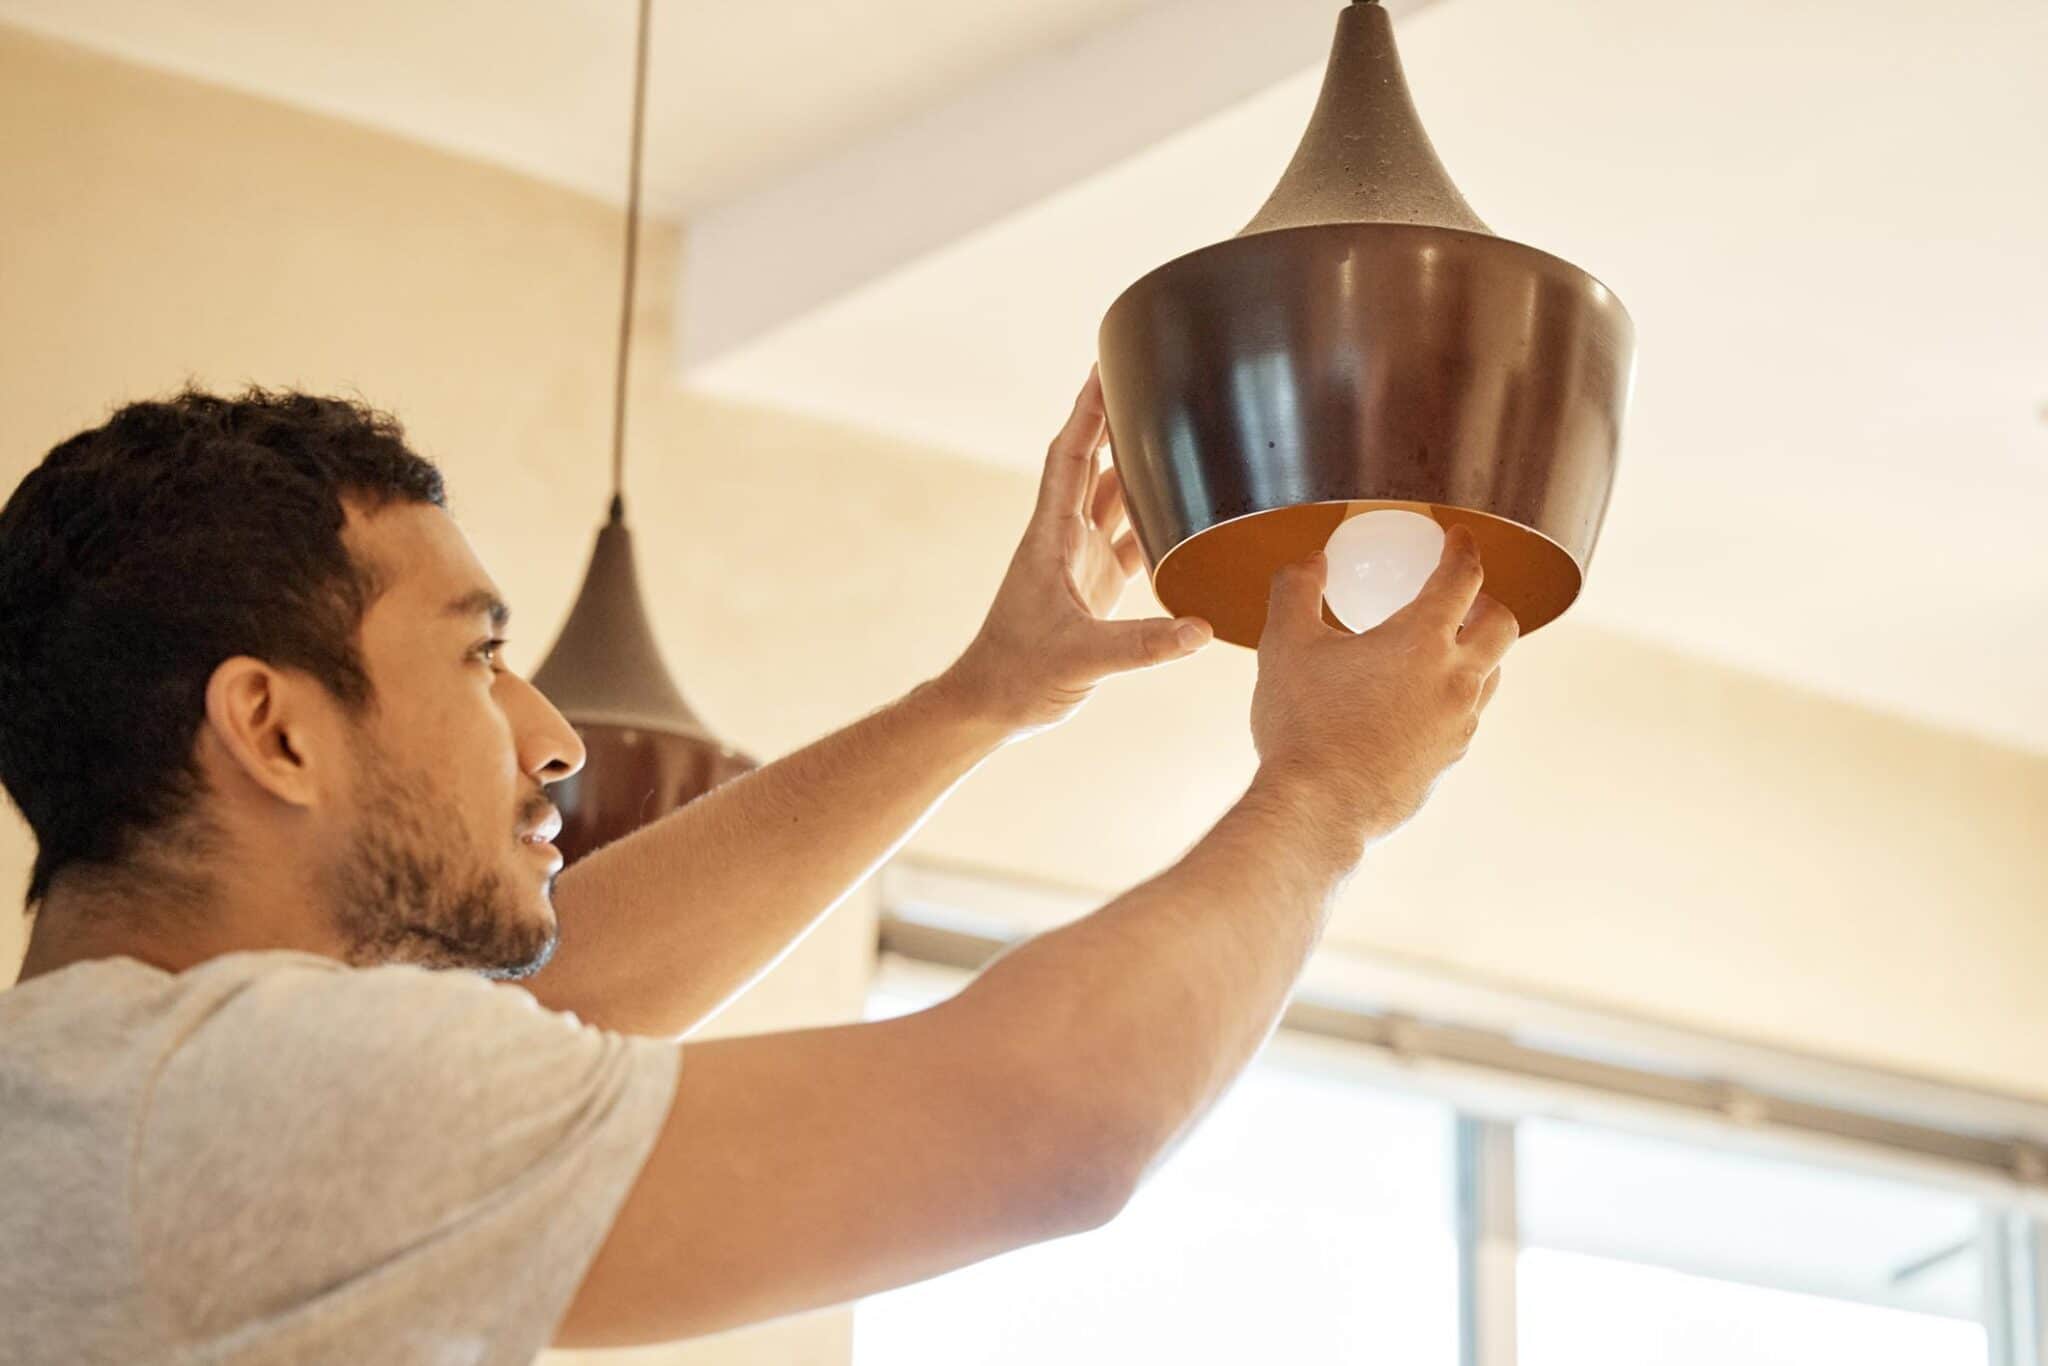
Changing a lightbulb is as easy as pie, but what if you need to do it with the power on? Don't worry, we've got you covered. Here's a quick and easy guide to changing a lightbulb with the power still on.

How to change the lightbulb at home?
Turn off the power at the fuse box or breaker panel. To be extra safe, remove the fuse or turn off the circuit breaker for the entire house. Then, twist counterclockwise to unscrew the old lightbulb. You may need a ladder to reach it. Be careful not to touch the new lightbulb with your bare hands; the oils from your skin can shorten its lifespan. Instead, hold it by the base and screw it in clockwise until snug. Turn on the power and test out your handiwork!
If you want to avoid all this hassle, you can always invest in LED bulbs. They last much longer than traditional incandescent bulbs and don't require nearly as much changing. Plus, they use less energy, so you'll save money on your power bill in the long run.
There you have it! Changing a lightbulb is easy peasy, even with the power still on. Just remember to take all the necessary safety precautions and you'll be good to go.
Can you get electrocuted while changing a light bulb?
Yes, changing a light bulb can result in electric shock. There are several hazards when it comes to changing a lightbulb, including electrical hazards that might result in injury, but there are other factors to consider as well to ensure your safety.
When working with any kind of electricity, always err on the side of caution and take the necessary safety precautions. Make sure you know where your fuse box or breaker panel is located, and that you have easy access to it. Turn off the power at the fuse box or breaker panel before changing the lightbulb. To be extra safe, remove the fuse or turn off the circuit breaker for the entire house.
Wear rubber gloves when changing the lightbulb to insulate yourself from electricity. In addition, be sure to screw in the new lightbulb by its base— not by the glass —to avoid getting an electric shock. Finally, once you have successfully changed the lightbulb, turn on the power and test out your handiwork.
By following these simple safety tips, you can avoid electric shock and other hazards when changing a lightbulb. Remember safety first!
How do I change a light bulb without turning the power off?
Because you'll be wiring the fixture, the positive wire to the light fixture may be dead, yet the neutral wire can still be live. Under specific circumstances, such as if your house's wiring has been done incorrectly or if your home's ground isn't up to date recently, the neutral wire may carry close to 240 volts.
If you're not sure about your home's wiring and you don't want to risk getting electrocuted, the safest bet is to shut off the power at the breaker box. Once the power is off, remove the old light bulb by unscrewing it from the socket. If the new light bulb has a different base than the old one, also remove the adapter sleeve (usually plastic) from around the socket.
Insert the new light bulb into the socket, and screw it in clockwise until it's tight. Be careful not to touch the glass part of the new bulb with your fingers, as this will cause it to burn out more quickly. Finally, restore power to the circuit by flipping the switch at the breaker box back to the "On" position. In some cases, other circuits “backfeed” the main circuit, and if you try to modify the light fixture, it might cause issues. Before attempting to replace the fixture, locate the breaker or fuse and turn it off.

After you switch off the breaker, use a VOM to verify if there is any electricity (Volt-Ohm-Millimeter). The multimeter includes plug-in test leads with either twin probes or a single probe at one end and an alligator clip on the other. To do so, simply flip the switch on or twist the knob. The current is generally in ohms. You may tell how much current is flowing or whether any is available by turning the dial to certain settings.
Assuming you're asking how to do this without shutting off power to the entire house:
- You'll need a few tools, including a voltage tester, wire strippers, and needle-nose pliers. Once you have your tools gathered, locate the circuit breaker that controls the power to the light fixture. Then, use your voltage tester to ensure that the power is off before you begin working.
- Next, remove the light fixture's cover plate, using a screwdriver to loosen the screws that hold it in place. With the cover plate removed, loosen and remove the wires from the light fixture using needle-nose pliers. You may need to use wire strippers to remove the insulation from around the ends of the wires before you disconnect them.
- Now, twist the new light bulb into the socket, being careful not to touch the glass part of the bulb with your fingers. Once the new bulb is in place, reconnect the wires to the fixture, using needle-nose pliers. Finally, screw the cover plate back onto the fixture, and turn on the power at the circuit breaker.
Switch the outdoor lightbulb with power on
Most of us have outdoor lighting and sometimes it's necessary to change the lightbulb while the power is still on.
The process looks similar to changing the lightbulb at home, but it has several peculiarities. First of all, be sure to use gloves or other means to insulate yourself from the current. Secondly, it is advisable to turn off the light before unscrewing the bulb so that you do not touch the live parts. After that, simply follow the instructions for changing a regular lightbulb. It is also worth noting that if you have an electrician's license, then you can easily change the outdoor lightbulb without turning off the power.
If you don't have an electrician's license, then the safest way to change an outdoor lightbulb is to turn off the power at the breaker box. Once the power is off, proceed with changing the lightbulb as you would normally. Remember to turn the power back on at the breaker box when you're finished.
How do you remove a broken light bulb?
One more guide for you on the topic - how to remove a broken light bulb. First of all, before starting work, be sure to disconnect the power to the light fixture. This can be done by either flipping the switch at the breaker box or removing the fuse from the fuse box. Once the power is off, proceed with caution.
Use a pair of needle-nose pliers to grab hold of the broken light bulb. If the bulb is still intact, you may be able to screw it out of the socket. However, if the bulb is shattered, you'll need to be careful not to touch any of the glass with your bare skin. Gently twist and pull the broken bulb out of the socket.
Once the broken bulb has been removed, use a vacuum cleaner with a hose attachment to suck up any glass shards that may be left behind. Finally, insert a new light bulb into the socket and screw it in place. Turn on the power at the breaker box or fuse box, and test the new bulb to make sure it's working.

In order to get rid of broken lightbulb you need to:
- Disconnect the power to the light fixture;
- Use a pair of needle-nose pliers to grab hold of the broken light bulb;
- Gently twist and pull the broken bulb out of the socket;
- Use a vacuum cleaner with a hose attachment to suck up any glass shards that may be left behind;
- Insert a new light bulb into the socket and screw it in place.
What safety tips to follow?
There are plenty of hazards when you try to change the lightbulb yourself. Here we will tell you what are the risks and how to avoid them.
The main hazard when changing lightbulbs is working with electricity. To avoid electric shock, be sure to turn off the power at the breaker box before beginning work. If you're not comfortable working with electrical wiring, it's best to leave the job to a licensed electrician.
Another hazard to consider is ladder safety. Falls from heights are one of the most common accidents around the home, so be sure to take proper precautions when using a ladder. Always have someone nearby to spot you, and use caution when climbing up and down.
Finally, be careful of broken glass when changing lightbulbs. Newer fluorescent bulbs contain mercury, which can be harmful if inhaled or ingested. Be sure to clean up any broken glass immediately, and dispose of the old bulb according to your local laws and regulations.
How can you deal with LED light strips?
Changing bulbs in LED light strips is not as easy as changing in traditional incandescent bulbs. You can't just screw in a new one when the old one burns out. LEDs are mounted on a circuit board, so you'll need to solder in a new one. Here's how to do it:
- Cut off the power to the strip at the fuse box or switch.
- Use a soldering iron to heat up the connection points on the LED strip circuit board where the burned-out LED is located.
- Carefully remove the burned-out LED from the circuit board by gently prying it up with a flathead screwdriver or other tool. Be careful not to damage the other LEDs or components on the circuit board.
- Insert the new LED into the circuit board, matching the polarity (the + and - symbols) to the old LED.
- Use the soldering iron to heat up the connection points and solder the new LED in place.
- Turn on the power to the strip and test the new LED. If it doesn't work, check your soldering connections and try again.
- Enjoy your newly changed LED light strip!
So, in case LED strips are cracked or damaged, it is recommended to replace them with new ones. However, there are cases when the issue can be solved without replacement. All you need is to solder the damaged part.
Bottom line
Now that you know how to change a lightbulb, there's no need to wait for someone else to do it for you. Be sure to follow all safety precautions when working with electricity and ladder, and you'll be able to get the job done quickly and easily. Thanks for reading!